Here's how to configure MacOS for Print-Tool 2 to print on paper of non-standard sizes. Special thanks to Walker Blackwell of piezography.com
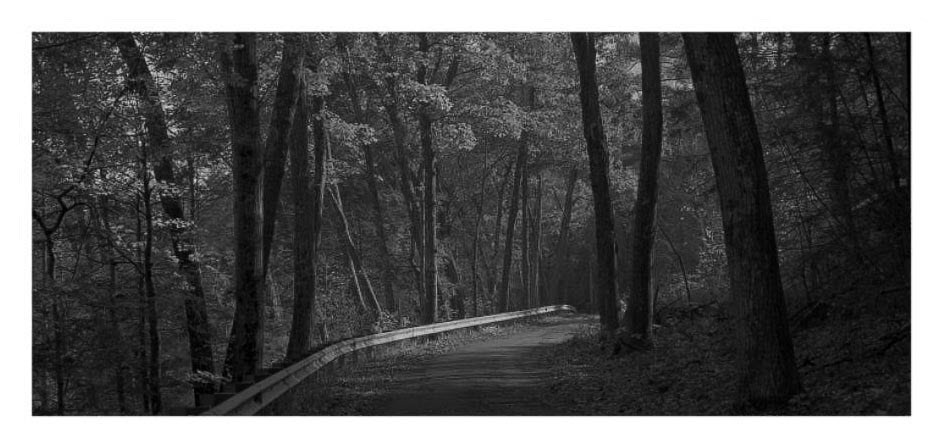
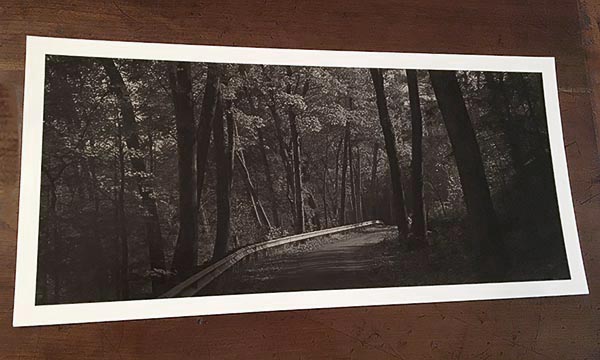
This image is 7 x 16, a non-standard ratio. To print this image with a 1/2 inch border, we will need to cut our 11x17 inch paper to 8x17 inches.
Note: we don't want to trim the print after printing: it can get scratched or damaged. It's easier and safer to trim the paper before printing.
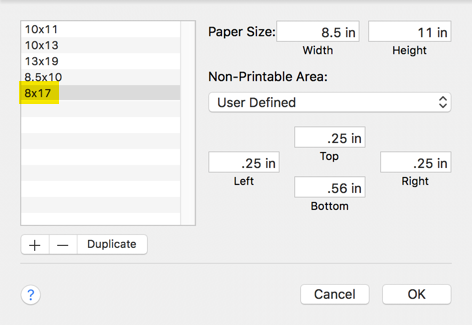
Now let's configure a custom paper size of 8x17 inches:
- Click on Paper and Print Settings...
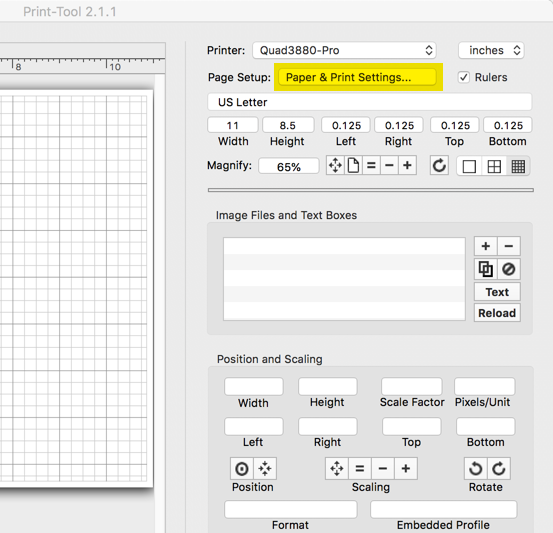
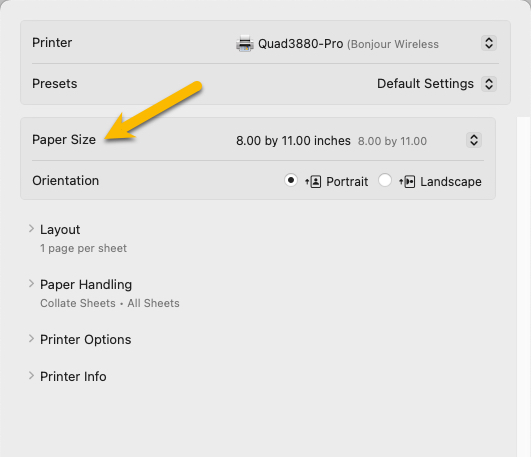
- Click on Paper Size.
Older versions of MacOS:
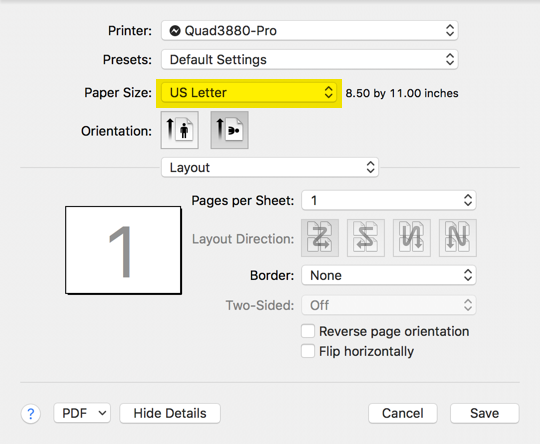
MacOS Sonoma:
- Click on Manage Custom Sizes.
Older versions of MacOS:
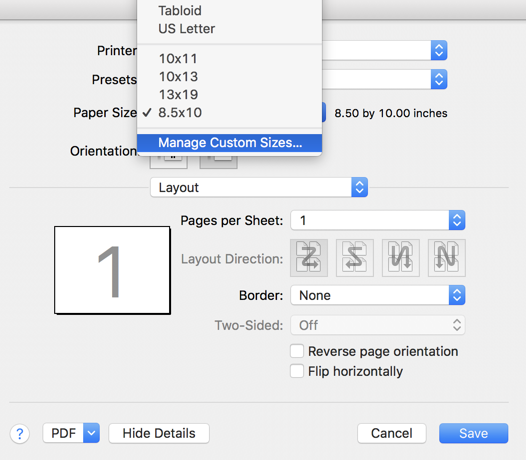
MacOS Sonoma:

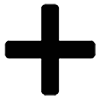
- Click on
 to specify a new custom size.
Older versions of MacOS:
MacOS Sonoma:

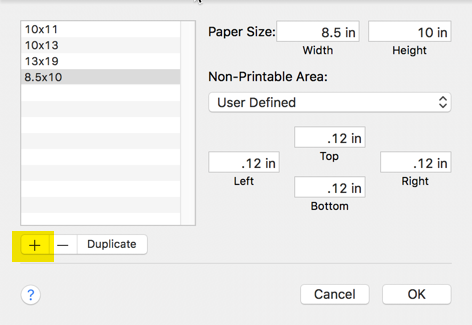
- A new custom size will be created with the name Untitled.
Double-click on the name and change it to the name of the new custom size.
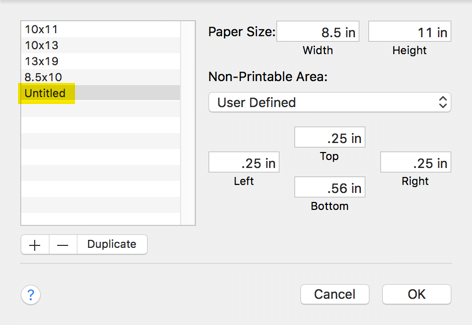
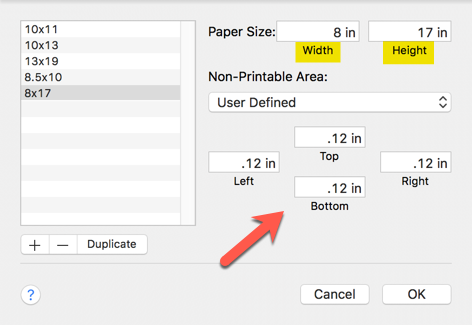
- Specify the new size using width as the small dimension and height as the long dimension.
Make sure that all the border sizes are the same.
- Now we print the image.
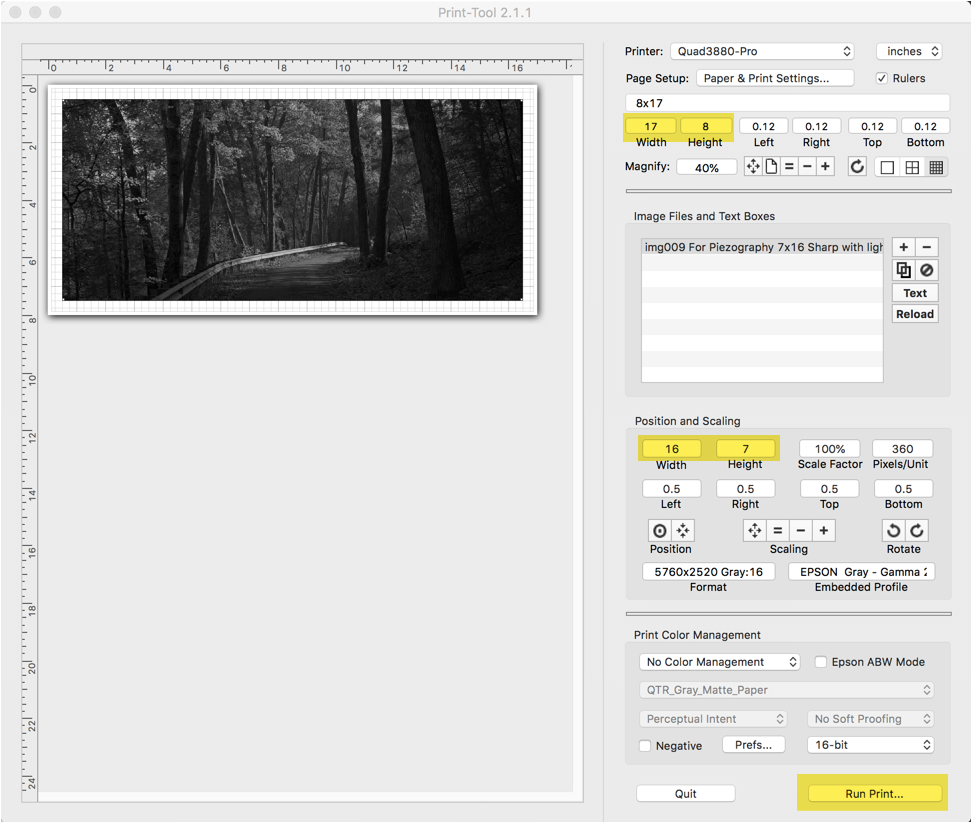
- We get a perfect 1/2 inch border. With Piezography Pro we have applied a
continuously blended variable tone: the darker values have a rich brown cast while the higher values
transition seamlessly to neutral.
Now let's make a 10x16 inch print on 11x17 inch paper:
![]()
We get a perfect 1/2 inch border all around. With Piezography Pro we have
applied
a slightly more neutral blended variable tone to suit to the image.
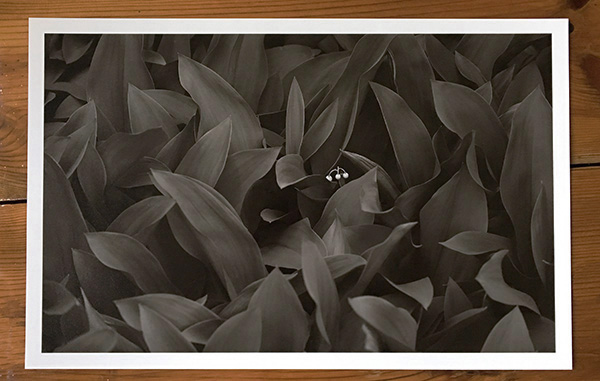
Here's another print with blended tones: 12x15 inches on 13x16 inch paper, with a fragment of a grayscale image for reference.